Next: NSX Controller Architecture & Deployment ->
First deployement task involved in a typical NSX deployment is to deploy the NSX manager. The NSX Manager, which is the centralized management component of NSX and runs as a virtual appliance on an ESX host. This article aim summarise all the usual steps required to effectively plan & deploy this NSX manager appliance.
-
Consider the pre-requisites.
- A dedicated management cluster:
- This is an important consideration. NSX manager needs to be deployed in a dedicated management / infrastructure cluster that is separate from the compute cluster (where all of your production VM’s live). The NSX installation and upgrade guide states this. ” VMware recommends that you install NSX Manager on a dedicated management cluster separate from the cluster(s) that NSX Manager manages. Each NSX Manager works with a single vCenter Server environment. The NSX Manager requires connectivity to the vCenter Server, ESXi host, and NSX Edge instances, NSX Guest Introspection module, and the NSX Data Security virtual machine. The NSX Manager should be run on an ESX host that is not affected by down time, such as frequent reboots or maintenance-mode operations. Thus, having available more than one ESX host for NSX Manager is recommended”
- The topic of a dedicated management cluster can be discussed in a post of its own. But for the sake of NSX deployment (and lot of other VMware products such as vRealize Automation…etc), a dedicated management cluster that is not dependent upon the compute cluster (where your production workload reside) is a must have requirement. You can refer to this as a management cluster or an infrastructure cluster. This has become almost a must have these days not just because of NSX but also some other VMware products such as vRealize Automation (vCAC) also recommending a dedicated management cluster. A typical example would look like below.

- VMware would even go a step further, and recommend separating out another dedicated cluster as an edge cluster too, which could be especially important in a highly scaled out, large NSX deployment. But in all honesty, I cannot see this happening with the majority of VMware customers where they would likely make the edge cluster the same as their compute cluster. But, if you are talking about a large enough NSX deployment to warrant a dedicated edge cluster, a similar deployment architecture would look like below.

- Management system requirements: Given below are some key management requirements
- Supported Web browser (Internet explorer 8, 9 & 10 only, 2 most recent Mozilla Firefox or 2 most recent google Chrome)
- vSphere Web Client (All NSX settings are managed through the vSphere web client only as there’s no plugin for the c# client.
- vSphere requirements: The compute cluster must have the following vSphere requirements
- Enterprise plus licenses (require the ability to use the VDS-vSphere Distributed Switch)
- vCenter Server (managing the compute & Edge clusters) to be vCenter 5.5 or later
- All ESXi servers in the compute & Edge clusters to be 5.5 or higher (if ESX 5.0, multicast has to be used for VXLAN)
- VMware tools to be installed
- Communication requirements: The following ports are required to be available for communication between NSX manager and the NSX components
- 443 between the NSX manager and ESXi hosts & vCenter server (of the compute & edge cluster)
- 443 between the REST client and NSX server (a rest client would be something like a vRealize Orchestrator for example)
- TCP 80 and 443 to access the NSX manager between the management host and vCenter server & NSX manager
- TCP 22 for CLI troubleshooting between management host and NSX manager
- A dedicated management cluster:
-
Understand the NSX deployment order: The following deployment and configuration order must be followed during a typical deployment

-
Obtain the NSX manager OVA file (refer to the previous post in this series to find out how)
-
Deploy the NSX manager OVA file (within the management cluster vCenter server)
- Select the location of the NSX manager OVA flie (either through the vSphere web client or the vSphere c# client)

- Check the OVA version and click next

- Accept the EULA and click next

- Provide a name for the NSX manager (don’t forget to manually add a DNS entry on your DNS server)
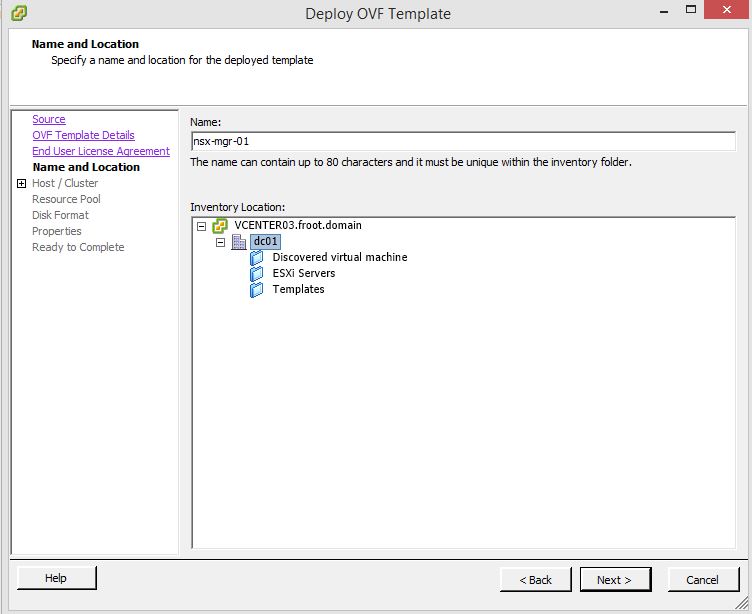
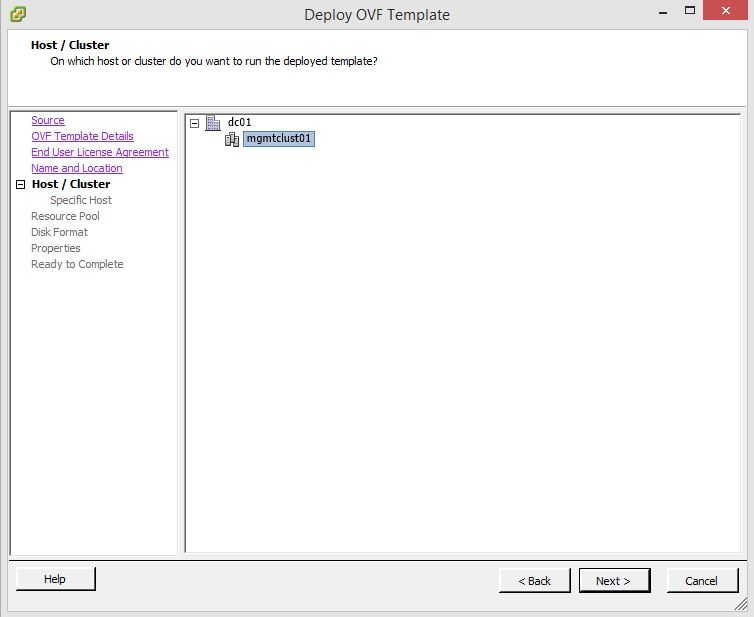
- Select the cluster on which to deploy the NSX manager (this should be the management cluster)
- Select any resource pools if required

- Select the datastore to store the NSX manager OVF (should be specific to the management cluster)
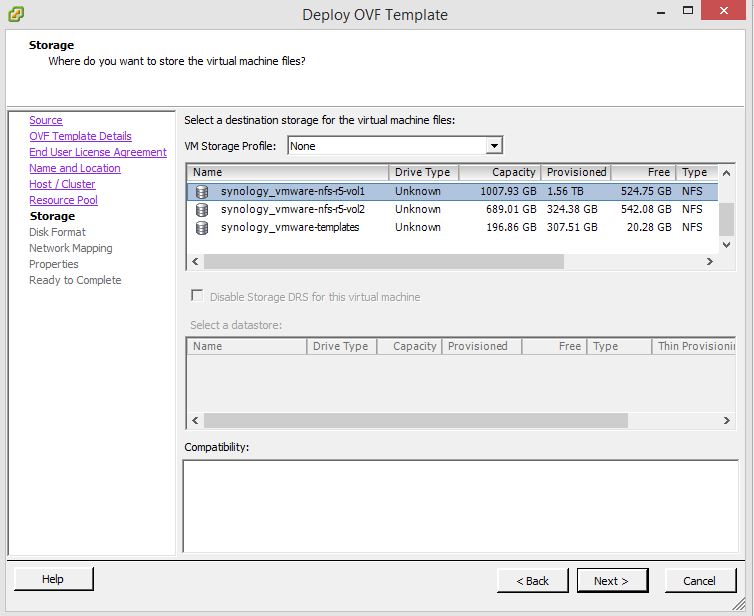
- Select the disk format (I would recommend Eager Zeroed Thick unless you have NSF as in the below screenshot)

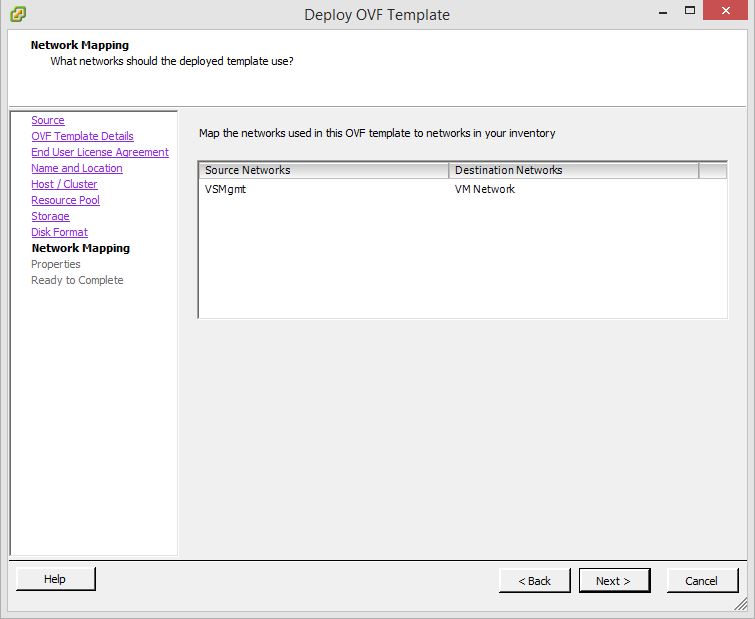
- Select the appropriate management network for the NSX manager (note the communication path with NSX manager)
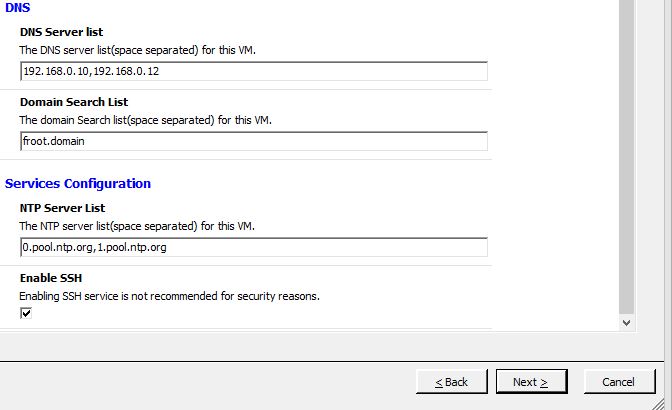
- Provide the CLI “admin” account password & the CLI privilege mode password for the NSX manager VM, networking properties such as Host name, IP details, DNS and NTP server details. Use redundant values here for high availability.

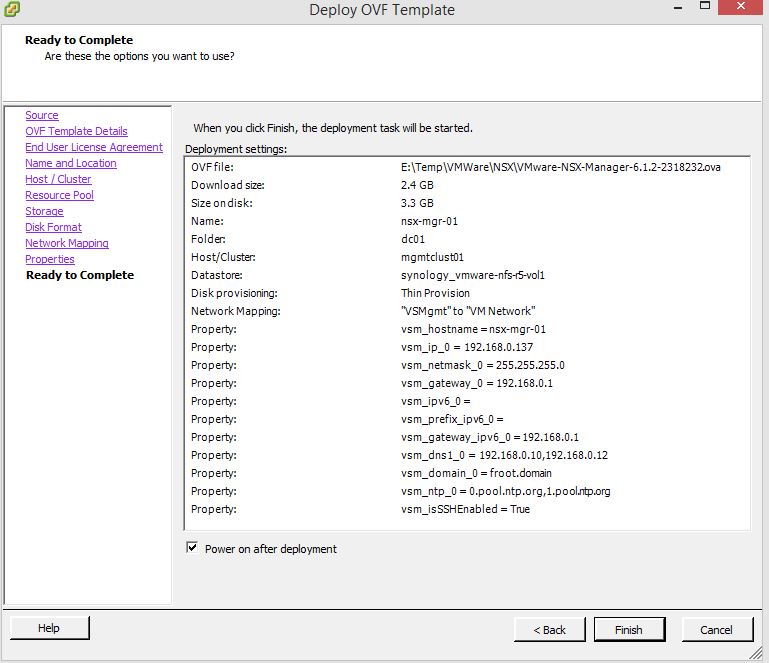
- Select the power on after reboot check box and click finish
- Select the location of the NSX manager OVA flie (either through the vSphere web client or the vSphere c# client)
-
Perform the initial configuration of the NSX manager server
- Login to the NSX manager instance using https://NSX-Manager-Host-Name-Or-IP using a supported browser. The credentials use here are admin and the password you provided for the CLI admin account (during the ova deployment)

- Click on View Summary

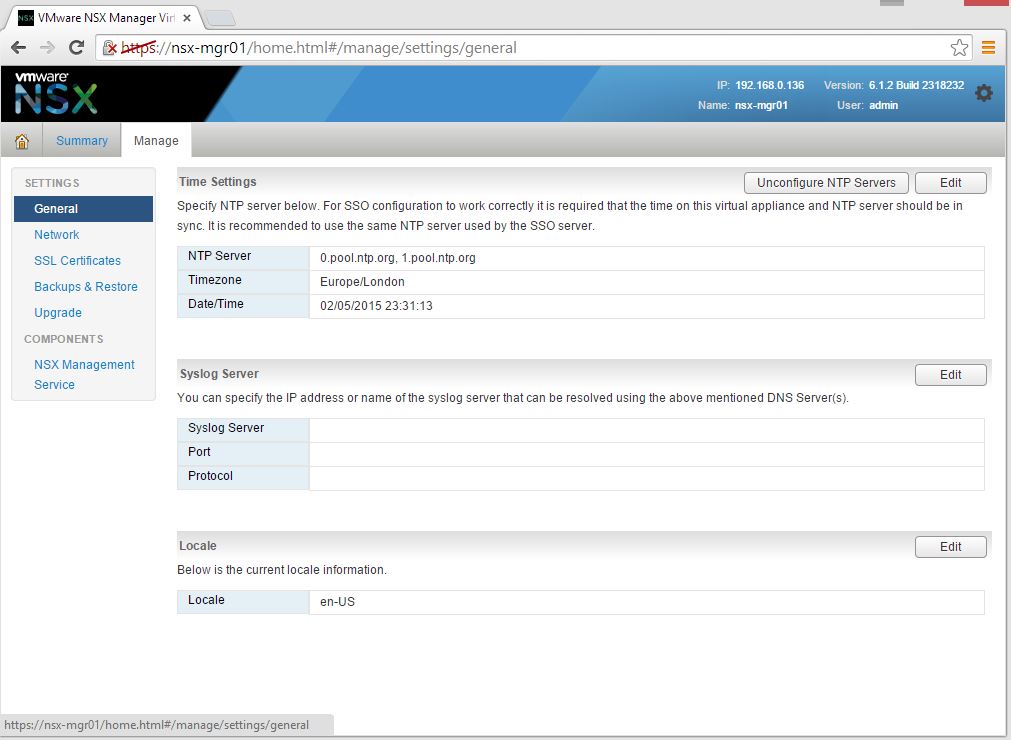
- Ensure that all NSX manager components are running and click on the manage tab at the top. Under the selected General section on the left, configure the NTP server settings (if not set automatically), syslog server details for log forwarding and any locale details if different from default.
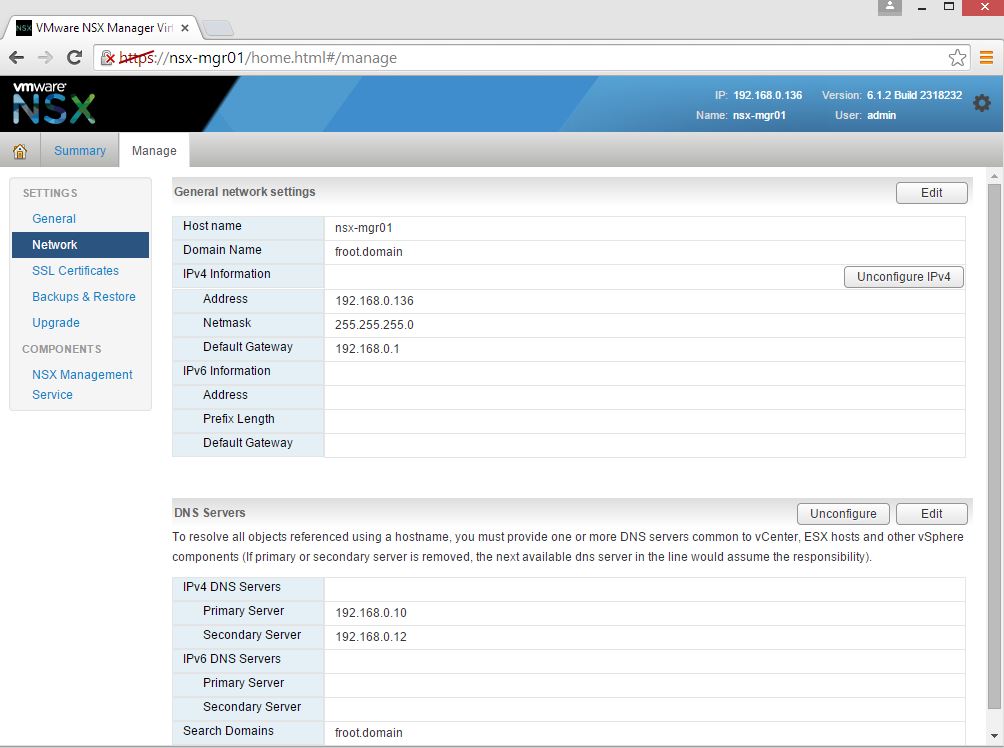
- Under the Network section, verify the general network settings are accurately set based on deployment parameters
- Assign any specific SSL certifications required under SSL certification section. It is recommended that the default, self signed certificate is NOT used for production deployments

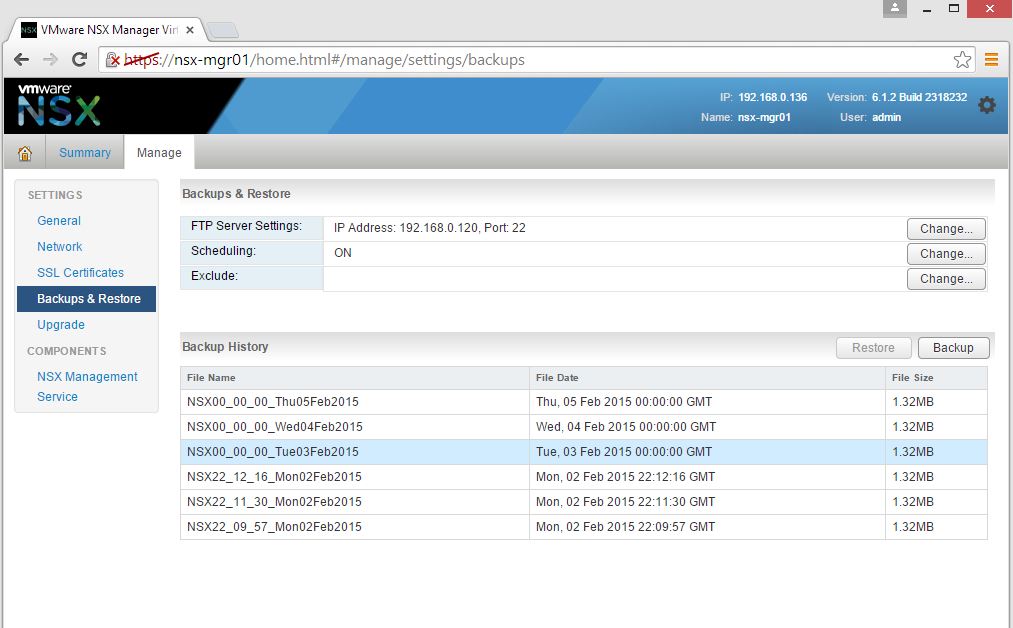
- Select the backup & Restore on the left and click change under the FTP server settings to configure an FTP server (FTP and SFTP supported) as a backup location

- Test the backup process by performing a SSL manager backup using the backup button
- Click on the NSX Management service under the COMPONENTS on the left and configure the lookup service. The lookup service configuration is optional but recommended. Look up server should be your SSO server & the default service port number is 7444. The default SSO administrator account (if using vCenter SSO) would be Administrator@vSphere.local on vCenter 5.5 or higher and admin@System-Domain if vCenter 5.0 or 5.1)

- Now configure the vCenter service registration. Note that this vCenter server needs to be the vCenter server managing the computer & edge cluster, NOT the management cluster. You’d also need a vCenter administrative account to connect to the vCenter with and I would normally create a dedicated NSX service account on the Active Directory (or what ever your directory server system is) with administrative privileges within that vCenter. (keep a note of that service accounts credentials as you’ll need it in the step 11 below)
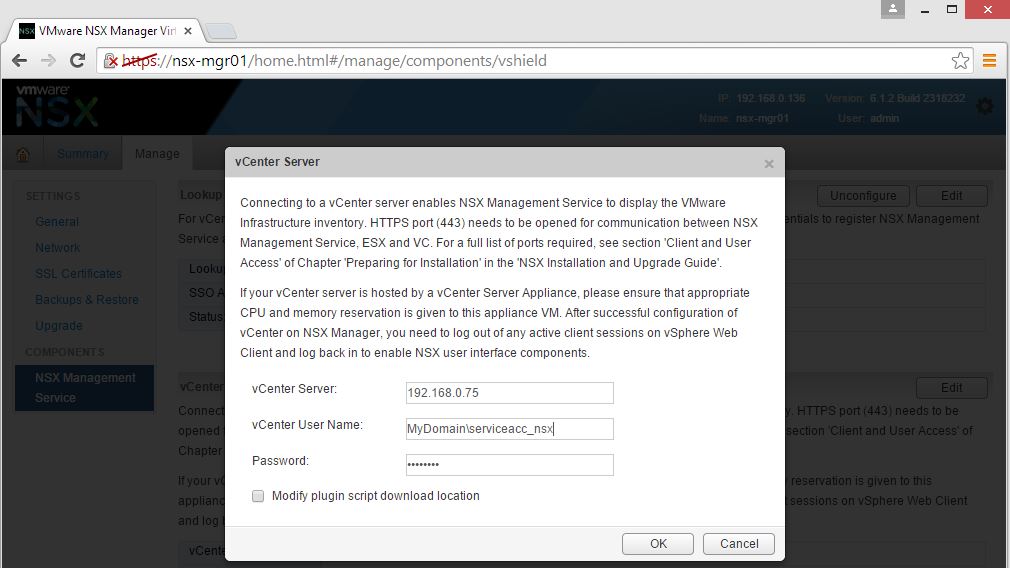
- Ensure that both lookup service and the vCenter server registrations are successful with a green circle against the status of each.

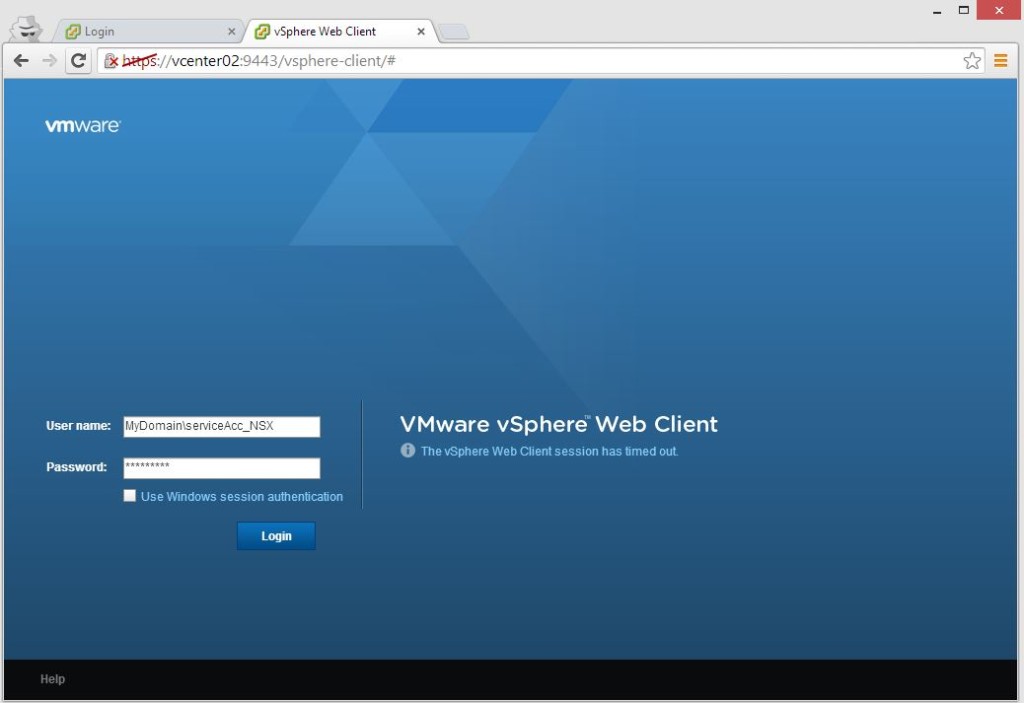
- Now login to the vSphere web client (of the computer & edge cluster vCenter) using the NSX service account previously used to register NSX manager with the vCenter server. Note that at this point in time, that is the only account that has permission to see & configure the NSX manager instance within vCenter (note that we already allocated vCenter administrative rights to this account so you can login through the web client)
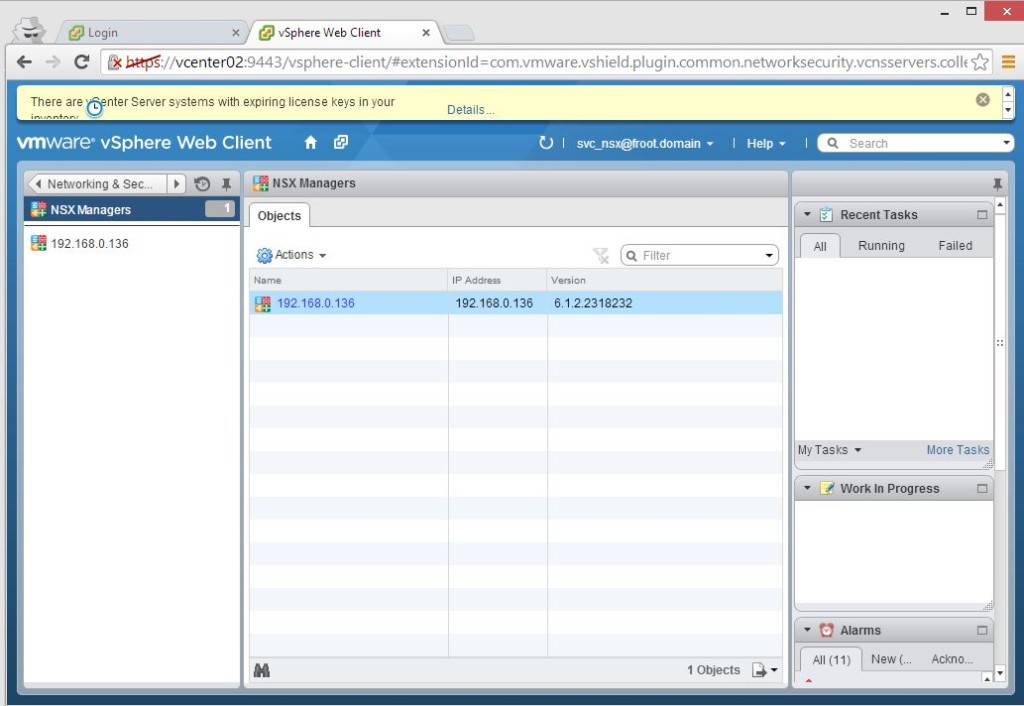
- Once logged in, click on Networking & Security on your left

- Now click on NSX managers on the left and then select the IP address of your NSX manager
- Now click on Manage tab at the top and then Users tab. Verify that you only have 2 users here. The default admin user created during the appliance deployment and the domain account you specified during the integration of NSX manager with. Now click the plus sign to add a user. You can a vCenter user or a vCenter group. a vCenter user can be an active directory user. (provided that the active directory is configured within your vCenter SSO). Note that Active Directory groups don’t seem to work here as it needs to be an individual account. If your vCenter admin account would also need NSX administrative rights, please specify it here in the format of Domain\AccountName and click next.
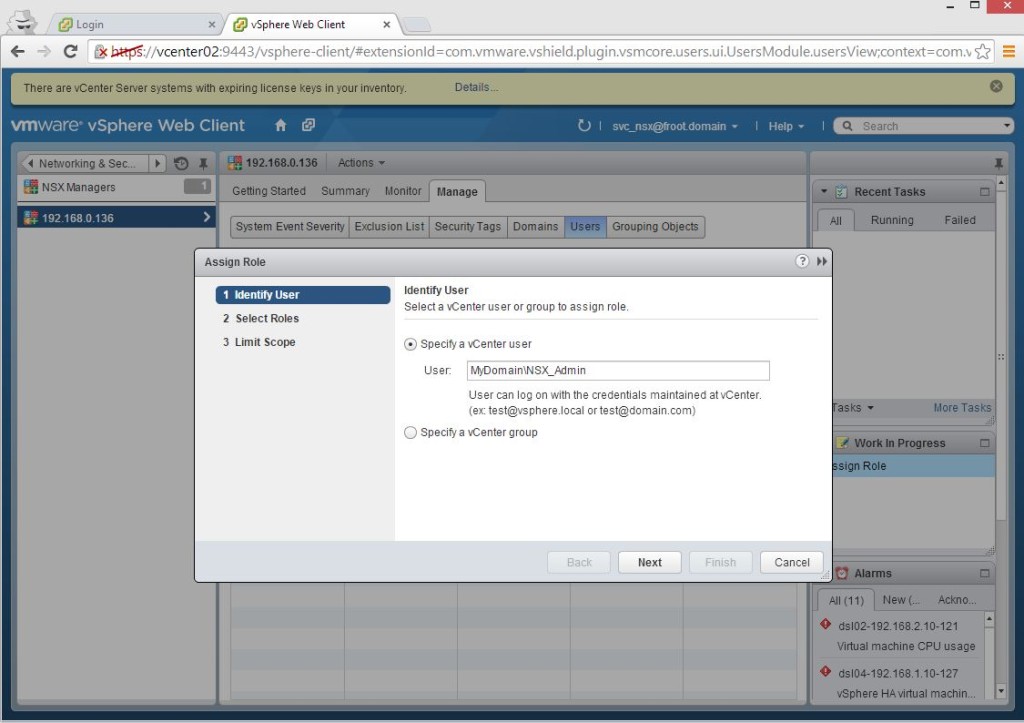
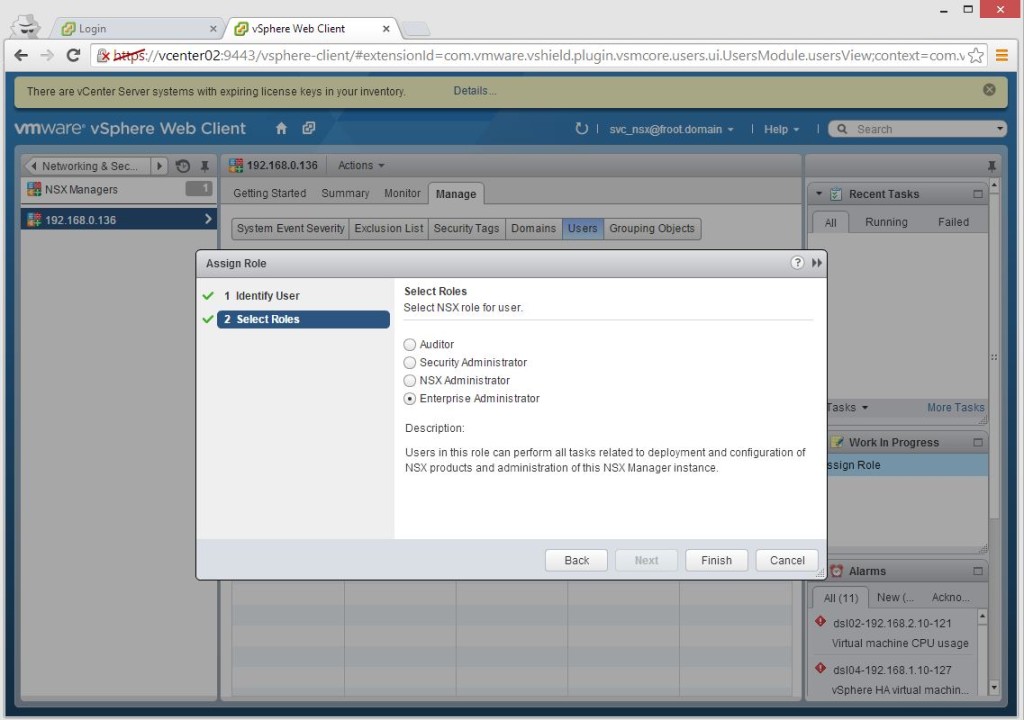
- Select the appropriate NSX role. You would need the enterprise administrator role assigned to at least one other account (unless you are going to use the service account credentials to configure NSX which is not recommended). So I’m giving a dedicated domain account the NSX enterprise administrator privileges here and I will use that account to login to the vSphere web client to configure NSX afterwards. That account also happened to have vCenter administrative rights too in order to be able to do deploy various NSX components. You can tie down privileges so that NSX Enterprise administrators and vCenter administrators can be separate accounts if you wish but the NSX admin account would need the following permissions within vCenter
- User permission to add and power on VMs within the computer cluster vCenter
- Permission to add files to the VM datastores within the computer cluster vCenter
- Now, when you log out the NSX service account, and log back in to the vSphere web client with the new account you’ve allocated NSX enterprise administraitive rights, you are able to see NSX manager instance and can configure all other NSX components.
- Login to the NSX manager instance using https://NSX-Manager-Host-Name-Or-IP using a supported browser. The credentials use here are admin and the password you provided for the CLI admin account (during the ova deployment)


Hope this was useful. In the next article of the series, we will look at how to configure basic NSX components such as VXLAN, logical switches…etc
Next: NSX Controller Architecture & Deployment ->
Cheers
Chan